Introduction
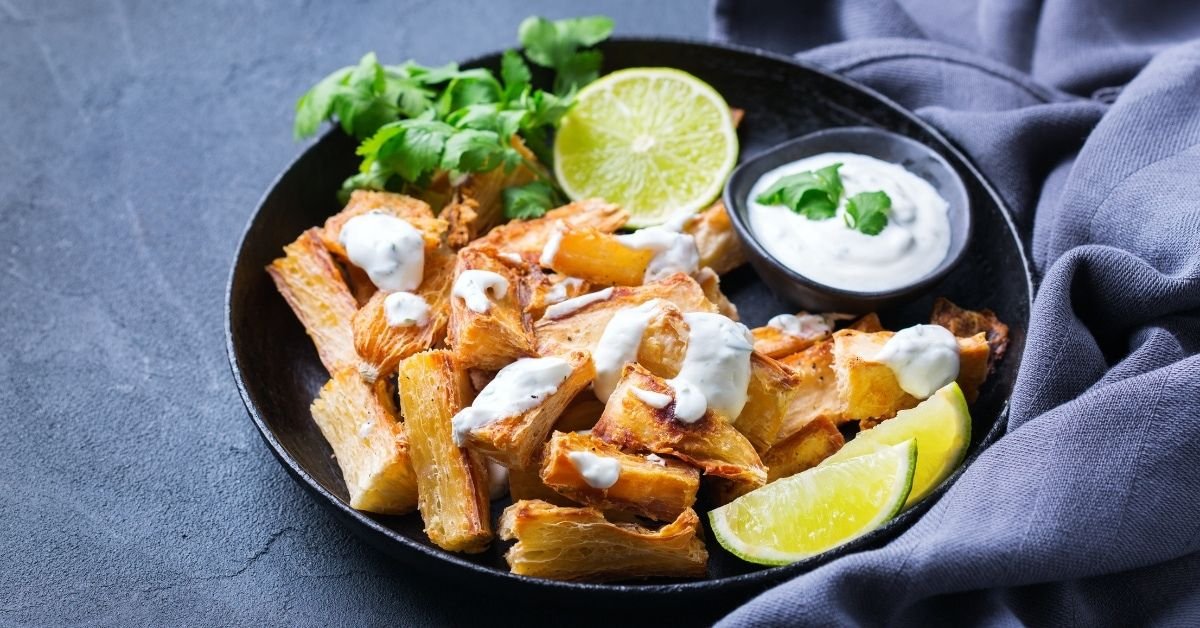
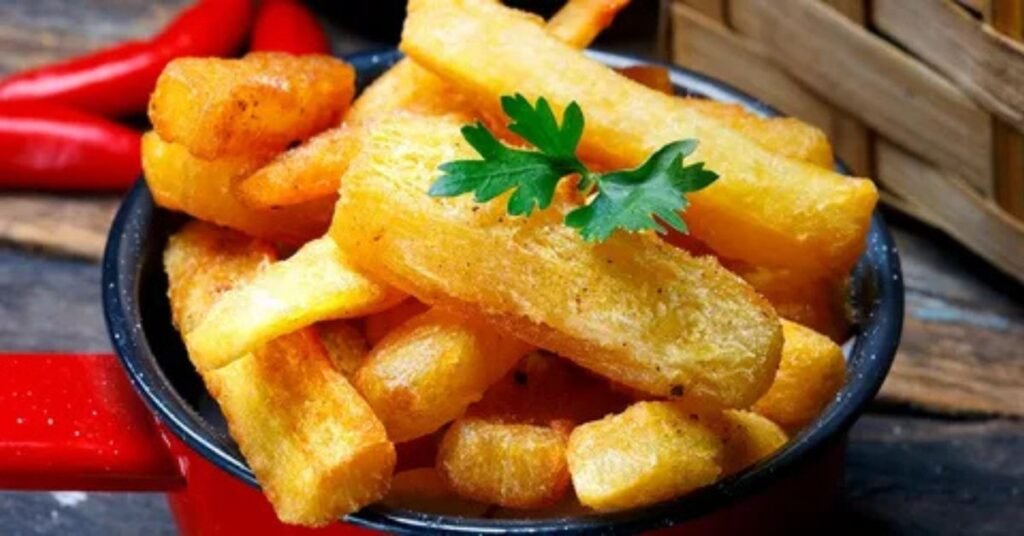
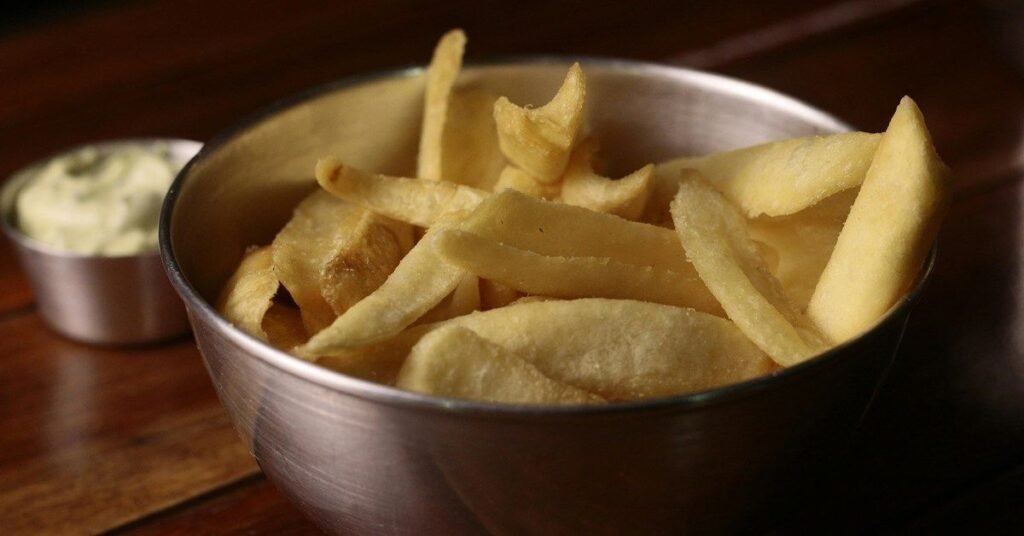
Yuca fries are a tasty alternative to classic potato fries. They are made from yuca root, which is also known as cassava. This starchy root vegetable is popular in Latin American and Caribbean cooking. When cooked, it becomes soft on the inside and nicely crisp on the outside.
If you love French fries, you are in for a real treat. Regular potato fries are great, but yuca brings a unique texture and a slight sweet flavor to your plate. They offer a satisfying crunch that makes every bite fun to eat. Once you try them, you might find yourself reaching for yuca instead of regular potatoes.
Making these delicious fries at home is easier than you think. All it takes is boiling the root first to make it tender, then frying or baking it to golden perfection. With a few simple seasonings, you can turn this humble vegetable into an irresistible side dish or snack.
What Is Cassava Root?
Cassava root is a starchy vegetable that grows underground. It is a staple food for millions of people across Latin America, Africa, and Asia. The plant thrives in warm climates and can grow in tough soils where other crops fail.
This root has a long shape with thick, brown outer skin. Inside, the flesh is firm, dense, and white or yellowish. Because it is naturally rich in carbohydrates, it provides plenty of energy throughout the day.
In culinary terms, cassava goes by several different names, including yuca and manioc. It has a neutral, slightly nutty flavor that works well in many dishes. People often boil, bake, or fry it to bring out its natural texture.
Cassava vs. Sweet Potatoes
Even though cassava and sweet potatoes look similar, they are quite different. Cassava is a long root with thick, rough brown skin and white or cream-colored flesh. Sweet potatoes usually have smoother skin and come in shades of orange, purple, or reddish-brown.
When it comes to texture and taste, cassava is much denser and starchier. It has a mild, earthy, and slightly nutty flavor. Sweet potatoes are softer, moister, and naturally sweeter, which gives them a completely different feel when cooked.
Both vegetables offer great nutrition, but they serve different needs. Cassava contains more calories and carbohydrates per serving, making it a great source of energy. Sweet potatoes, on the other hand, are rich in vitamins, especially vitamin A from their orange flesh.
Nutritional Value & Benefits
Cassava root is packed with complex carbohydrates, making it a powerful energy source. It contains virtually no fat and is naturally gluten-free. This makes it an excellent grain alternative for people with gluten sensitivities or celiac disease.
This root vegetable is also a good source of essential vitamins and minerals. It provides a healthy dose of vitamin C, which helps boost your immune system. You will also find potassium, magnesium, and copper in every serving.
In addition to vitamins, cassava contains resistant starch. This type of starch feeds the good bacteria in your gut and supports healthy digestion. It also helps you stay full for longer, which can keep energy levels steady throughout the day.
How to Choose Fresh Roots
Finding fresh cassava root at the store is easy when you know what to look for. Start by holding the root in your hands. It should feel firm, solid, and heavy for its size, with no soft or mushy spots.
Next, inspect the outer skin carefully. Most grocery stores coat fresh roots in a thin layer of wax to preserve moisture. Make sure the dark brown skin is clean, intact, and free from cracks, dark discoloration, or mold.
If possible, check the ends of the root where it was cut. The inner flesh should be bright white or pale yellow without any dark streaks or black lines. If you see dark lines inside, the root has started to spoil and should be avoided.
Read more for Info: https://swiftsavory.com/the-ultimate-collection-of-healthy-pasta-recipes-packed-with-nutrients/
Kitchen Tools Needed
Preparing this dish requires a few basic kitchen tools to get the best results. First, you will need a heavy chef’s knife and a sturdy cutting board. A sharp knife is essential because the outer skin of the root can be thick and tough to slice through.
Next, make sure you have a large pot for boiling. You will also need a slotted spoon or tongs to safely lift the pieces out of the hot water. A colander or wire cooling rack works great for draining excess water before cooking.
Finally, choose your preferred cooking surface based on how you like to prepare them. A deep frying pan or heavy skillet is ideal if you want to fry them on the stove. If you prefer a lighter option, a baking sheet lined with parchment paper or an air fryer will work perfectly.
Peeling & Prep Guide
Prepping this vegetable is simple once you master the technique. Start by slicing off both end tips of the root with your sharp knife. Then, cut the long root into shorter, manageable pieces that are about three to four inches long.
Next, stand each piece upright on your cutting board. Slice downward along the sides to remove the thick, waxy brown skin completely. Make sure to cut deep enough to remove both the outer bark and the thin pinkish layer underneath it.
Once peeled, rinse the clean white pieces under cold water to remove excess surface starch. Slice each section lengthwise into stick shapes that are even in size. Having uniform pieces ensures that everything cooks evenly later on.
Why Parboiling Matters
Parboiling is a critical step that you should never skip. Raw cassava root is naturally very dense, tough, and fibrous. Boiling the pieces in salted water first softens the inner starch, making it tender all the way through.
This step also guarantees the perfect contrast in texture when cooked. If you put raw pieces straight into hot oil or a hot oven, the outside will burn before the inside cooks through.
Finally, boiling helps lower the natural bitterness of the root. It removes excess raw surface starch and cleanses the vegetable before final cooking. Just ten to fifteen minutes in boiling water makes a huge difference in taste and texture.
Removing the Core
Removing the core is an essential step for achieving a soft texture. Every cassava root contains a thin, woody fiber that runs straight through its center. This inner core stays tough and stringy even after boiling, so you must always remove it.
After you parboil and drain the root pieces, slice each section in half lengthwise. Look closely at the center of the soft flesh to locate the firm, fibrous strand. Use your knife to slice off that small center ridge, or simply pull the tough string away with your fingers.
Removing this inner thread leaves you with tender, smooth pieces that are completely ready for cooking. Cutting away the core also gives your sticks clean, flat edges. These flat edges touch the hot pan directly, which helps them brown evenly and turn extra crispy.
Oven-Baked Version
Oven-baking offers a lighter way to enjoy a crispy side dish. Preheat your oven to high heat and line a large baking sheet with parchment paper. High heat helps the pre-boiled pieces crisp up fast while keeping the insides light and tender.
Spread the parboiled pieces across the tray in a single layer. Make sure you leave space between them so they roast instead of steaming. Drizzle them with cooking oil, sprinkle with sea salt, and toss everything until every piece is evenly coated.
Bake the pieces until they turn golden brown and crunchy around the edges. Flip them halfway through the cooking time to ensure an even crunch on all sides. It is best to serve them hot straight out of the oven to get the best taste and texture.
Air Fryer Method
An air fryer is one of the fastest ways to get a super crispy crunch. Preheat your air fryer to medium-high heat so it gets nice and hot. This ensures the outer layer crisping begins immediately when you add the pieces.
Place your parboiled, core-removed pieces into a bowl. Lightly toss them with a small amount of oil and your favorite seasonings to coat them evenly. Transfer them to the air fryer basket in a single layer, making sure not to overcrowd the tray.
Cook the pieces until they turn golden brown and crunchy on all sides. Shake the basket halfway through the cooking time so every side cooks evenly. It is best to serve them hot and fresh, so they will retain their best texture.
Best Seasonings & Spices
Simple seasonings can transform this dish into something extraordinary. Garlic powder, onion powder, and smoked paprika create a warm, savory flavor base. Fresh black pepper and sea salt enhance the root’s natural flavor.
A bit of heat can be added by adding cayenne pepper or chili powder to the recipe. Dried herbs like oregano, parsley, and rosemary also add wonderful aroma and taste. Sprinkling finely grated Parmesan cheese over hot pieces adds a rich, salty touch.
Always apply dry spices right after cooking while the pieces are still hot. The warmth and residual oil help the seasonings stick to every piece. Toss everything gently in a bowl so every bite gets an even layer of flavor.
Dipping Sauces & Pairings
Sauces make every bite even better. A classic Cuban garlic mojo sauce made with citrus juice, olive oil, and fresh garlic offers a vibrant taste.
If you enjoy simple comfort food, traditional dipping choices work wonderfully too. Tomato ketchup, honey mustard, and tangy barbecue sauce all pair well with the mild, nutty starch. You can also try a spicy cheese dip or guacamole for extra flavor.
These crispy sticks make an excellent side dish for many main meals. Serve them alongside grilled chicken, juicy burgers, or grilled steak for a hearty dinner. They also go great with seafood like fried fish or shrimp for a complete beach-style meal.
Reheating for Extra Crunch
Reheating leftover pieces correctly brings back their original crispiness. Avoid using the microwave, as it traps steam and turns the outer skin soft and soggy. Instead, use heat sources that bake away moisture to revive that satisfying crunch.
An air fryer is the best tool for warming up leftovers quickly. Preheat the air fryer to medium-high heat and place the pieces in a single layer. Heat them for three to five minutes until the outer layer turns hot, noisy, and crispy again.
You can also use a standard oven or toaster oven with great results. Spread the pieces across a baking sheet and bake them at high heat for about eight to ten minutes. Flip them halfway through so both sides regain their golden, crunchy texture before serving.
Storage & Freezing Tips
Storing cassava root properly keeps it fresh and ready for quick meal prep. Raw, unpeeled cassava roots stay fresh in a cool, dry place for up to one week. Once you peel or submerge cassava in water, keep it in an airtight container inside the refrigerator for up to four days.
Freezing is the best method for long-term storage and saves time in the kitchen. Parboil the peeled pieces in boiling water for about ten minutes, then let them cool completely. Place the cooled pieces on a baking tray in a single layer to freeze them solid before transferring them to freezer-safe bags.
Storage Methods & Best Practices
| Storage Stage | Best Storage Location | Ideal Temperature / Setup | Shelf Life | Key Tip |
| Whole Raw Root | Pantry or countertop | Cool, dry area away from sunlight | 5–7 Days | Keep in a ventilated area; do not wrap in plastic. |
| Peeled & Raw | Refrigerator | Submerged in a container filled with water | 3–4 Days | Change the water daily to maintain freshness. |
| Parboiled & Drained | Refrigerator | Sealed airtight glass or plastic container | 3–5 Days | Ensure pieces cool fully before closing the container. |
| Parboiled & Flash-Frozen | Freezer | Single layer on a tray, then transfer to a freezer bag | 3 Months | Label the bag with the date to track freshness. |
| Fully Cooked Leftovers | Refrigerator | Shallow airtight container lined with a paper towel | 2–3 Days | Paper towel absorbs moisture to prevent sogginess. |
| Fully Cooked & Frozen | Freezer | Heavy-duty freezer bag or vacuum-sealed bag | 1–2 Months | Reheat directly from frozen using an oven or air fryer. |
(FAQS)
1. Do I need to boil yuca before making yuca fries?
Yes, parboiling is necessary to soften the tough root and ensure the inside cooks fully while the outside turns crispy.
2. Why are my yuca fries soft or soggy instead of crispy?
They become soggy if you skip parboiling, overcrowd the cooking pan, or try to reheat them using a microwave.
3. Can I make yuca fries ahead of time?
Yes, you can peel and parboil the yuca pieces in advance, then store them in the refrigerator or freezer until you are ready to cook.
4. Are yuca fries healthier than regular potato fries?
They contain more fiber and complex carbohydrates than potato fries, but their healthiness mainly depends on whether you bake, air fry, or deep fry them.
5. What is the best way to reheat leftover yuca fries?
Reheat them in an air fryer or a hot oven for 3 to 5 minutes to quickly restore their original golden crunch.
Conclusion
Making homemade yuca fries is a simple and rewarding process. By following a few key steps—like proper peeling, parboiling, and removing the core—you can easily achieve golden, crispy results every time.
Now that you know the secrets to perfect texture and bold flavor pairings, it is time to try them in your own kitchen. Gather your ingredients, pick your favorite dipping sauce, and enjoy this satisfying, crunchy snack with family and friends. Happy cooking!
How to Make Yuca Fries: Crispy, Seasoned, and Delicious