Introduction
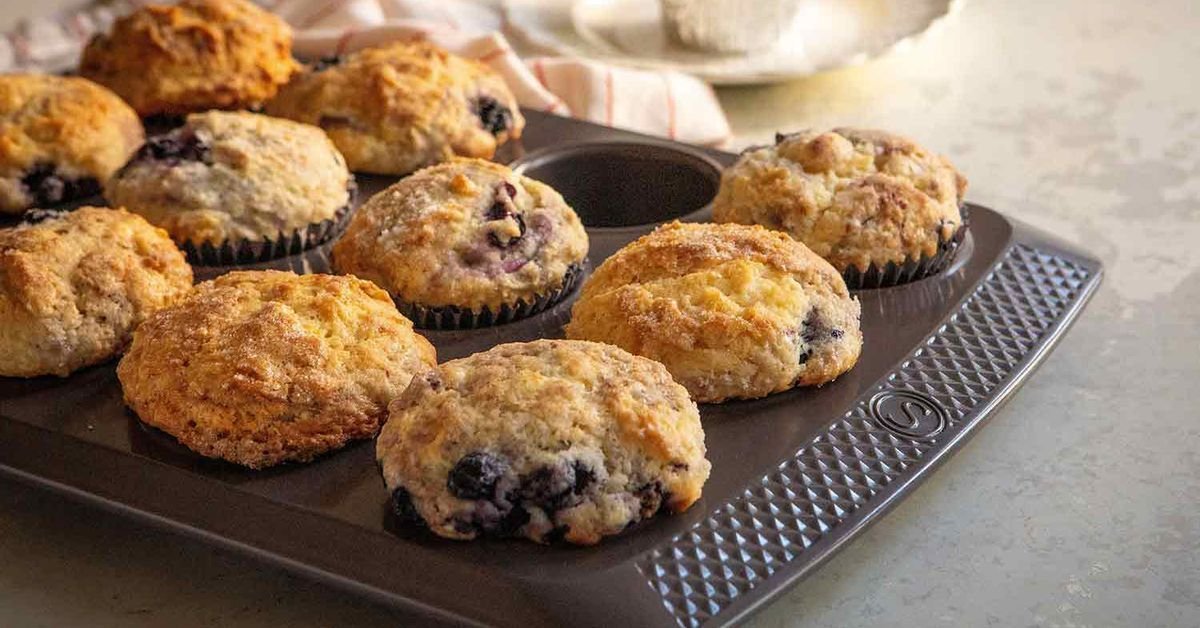
Soft baked goods filled with juicy blueberries and crowned with a sweet, crumbly topping. Instead of traditional wheat flour, these muffins use gluten-free blends so everyone can enjoy them safely.
Imagine biting into a warm muffin with a golden, crunchy top. The buttery streusel melts in your mouth alongside sweet, burst-in-your-mouth blueberries. You do not have to give up incredible bakery-style taste just because you are eating gluten-free.
These muffins combine simple pantry ingredients with fresh or frozen berries for maximum flavor. The sweet streusel layer adds a satisfying crunch that elevates a basic berry muffin into something truly special. They are easy to whip up and perfect for quick breakfasts, snack time, or weekend brunch.
Essential Ingredients for a Soft and Tender Crumb
Achieving a light and tender texture in gluten-free baking starts with choosing the right base ingredients. A high-quality 1-to-1 gluten-free baking flour blend provides the essential structure.
Moisture is the key secret to preventing dense or dry pastries. Fine granulated sugar sweetens the mix while keeping the crumb soft and tender. Room-temperature eggs add structure, richness, and necessary lift to the batter.
Fat plays a vital role in creating a melt-in-your-mouth feel. Melted unsalted butter or a mild vegetable oil coats the flour particles to keep the texture soft. Pure vanilla extract enhances the overall sweetness and complements the fruity flavor.
Choosing the Best Flour Blend for Celiac-Safe Baking
Baking safe treats for celiac disease starts with reading labels very carefully. Regular flours contain wheat, barley, and rye, which are harmful to sensitive guts. You must look for packages clearly labeled certified gluten-free.
Gluten-free flour rarely works as a single ingredient on its own. Most successful bakers use pre-mixed multi-purpose flour blends. These mixes usually combine rice flour, potato starch, and tapioca flour.
Always check if your store-bought blend already includes xanthan gum. Xanthan gum acts like glue to hold your baked goods together. If your chosen blend lacks it, you will need to add a small amount yourself.

Fresh vs. Frozen Berries: Which Yields Better Flavor?
Fresh blueberries are a wonderful choice when they are in peak season. They offer a sweet, juicy burst of flavor and keep their round shape during baking.
Frozen blueberries are a budget-friendly option that you can enjoy all year long. They are picked at peak ripeness, so their sweet berry flavor is locked in fast. The main drawback is that frozen berries release more liquid as they melt.
Both choices give you fantastic, mouth-watering flavor when prepared correctly. If you use fresh berries, wash and dry them gently before folding them into your batter. If you use frozen berries, keep them solid and toss them directly in frozen right before baking.
How to Keep Berries from Sinking to the Bottom
Heavy fruit often sinks to the bottom of muffin cups during baking. As the batter warms up in the oven, it thins out before it sets. This allows heavy blueberries to slide right down through the soft mix. You end up with a plain muffin top and a soggy, berry-heavy bottom layer.
One simple trick easily solves this common baking problem. Before adding the berries to the mix, toss them in a tablespoon of dry gluten-free flour. The light flour coating creates friction on the smooth skin of the fruit.
Thick batter also plays a huge role in supporting heavy fruit. Do not overmix your liquids, as a runny batter cannot hold the berries in place. Pouring a small layer of plain batter into the muffin cups first gives extra support.
The Role of Fat and Dairy in Adding Moisture
Fat is essential for creating a rich, tender texture in gluten-free baking. Liquids like melted butter or oil coat the flour particles and trap moisture inside the batter.
Dairy products supply the extra moisture and acid needed for a soft crumb. Ingredients like sour cream, Greek yogurt, or buttermilk work wonders in gluten-free recipes.
Using full-fat dairy options gives you the absolute best results. Low-fat products contain more water, which can make the finished texture gummy or tough. Always bring your dairy and eggs to room temperature before mixing them together.
Step-by-Step Mixing Technique for Light and Fluffy Results
Whisk your dry ingredients together in a large bowl first. In a separate bowl, mix your eggs, sugar, oil, and vanilla until smooth. Combining the wet and dry mixtures separately ensures an even distribution of flavor and leavening agents.
Pour the wet ingredients into the dry bowl slowly. Use a rubber spatula to fold the mixture gently together. Never beat or overmix gluten-free batter, because harsh stirring creates dense and rubbery pastries.
Stop mixing as soon as you no longer see streaks of dry flour. Gently fold in your flour-coated blueberries at the very last second. Let the thick batter rest on your counter for ten minutes before baking to absorb the moisture.
Read more for Info: https://swiftsavory.com/how-to-prepare-matrix-food-for-soft-diets-without-losing-flavor/
Crafting a Golden, Sweet Streusel Layer
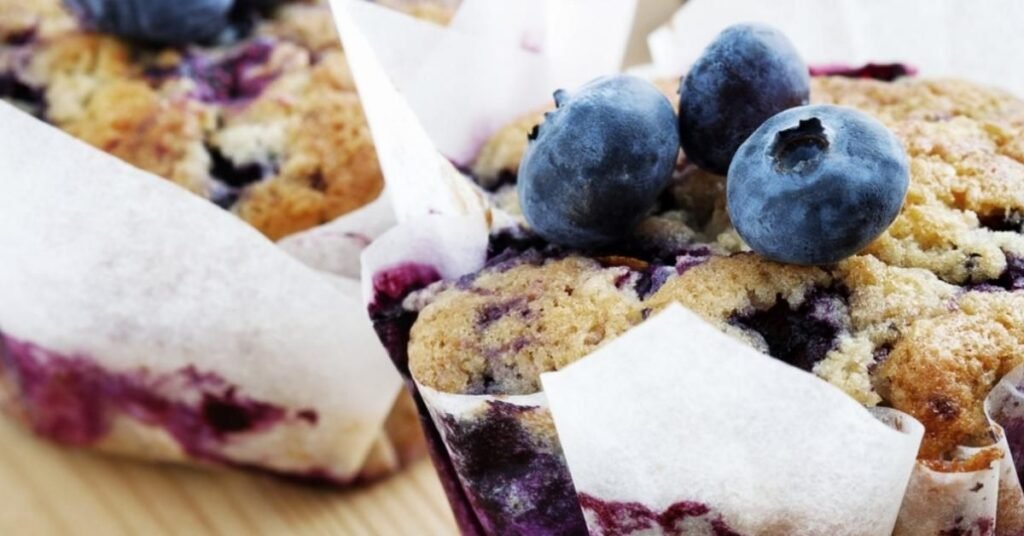
A great streusel topping brings a delightful crunch to every bite. Mix cold unsalted butter, gluten-free flour, and brown sugar in a small bowl. Use a fork or your fingers to break the butter into small, pea-sized crumbs.
Add a pinch of cinnamon or nutmeg to boost the warm flavor profile. Cold butter is essential here because warm butter turns the crumb topping into a greasy paste. Keep the streusel mix in the fridge until you are ready to sprinkle it.
Generously spoon the crumbly mixture over the top of filled muffin cups. Press the crumbs down very lightly into the batter so they stick during baking. The butter melts into the top layer while the sugar caramelizes into a crisp, golden crust.
Proper Oven Temperatures for Bakery-Style Tops
High heat is the main secret to creating those tall, beautiful bakery tops. Preheating your oven to a high temperature causes an immediate burst of steam inside the batter. This quick blast forces the muffin tops to rise rapidly before the outer edges set.
Start baking your tin at a higher heat for the first five minutes. Then, lower the oven temperature slightly without opening the oven door. This simple method cooks the center of the pastries gently while maintaining a high, golden peak.
Always use an oven thermometer to check the actual inside temperature. Ovens often run hotter or colder than their digital displays show. Accurate heat control prevents burnt tops and ensures your muffins bake all the way evenly through.
Simple Swaps for Dairy-Free, Egg-Free, or Vegan Diets
You can easily change this recipe to fit various dietary needs. Swap regular butter for plant-based vegan butter or mild coconut oil. Use unsweetened almond milk or oat milk mixed with a little lemon juice to replace traditional buttermilk.
Flax eggs serve as a wonderful substitute for traditional chicken eggs. Mix one tablespoon of ground flaxseed with three tablespoons of warm water for each egg. Let the mixture sit for five minutes until it turns thick and sticky.
Check all your packaged ingredient labels to confirm they are certified vegan. Plant-based yogurts like coconut milk yogurt preserve moisture just like dairy options. These simple substitutions deliver incredible taste without losing that soft, tender texture.
Common Baking Mistakes That Lead to Dense Pastries
Measuring flour incorrectly is the most common mistake in gluten-free baking. Scooping flour directly with a measuring cup packs down the powder and adds too much weight. Always spoon your flour lightly into the cup and level it off with a flat knife.
Opening the oven door too early drops the internal baking temperature quickly. This sudden rush of cool air collapses the rising batter and creates a sunken, gummy middle. Keep the door closed until the final few minutes of baking time.
Using expired baking powder also ruins the texture of your baked goods. Old leavening agents lose their power and fail to lift heavy starches. Always test your powder in warm water to ensure it fizzes properly before mixing.
Nutritious Add-Ins to Boost Protein and Fiber
Boosting the nutritional value of your breakfast treats is easy and quick. Stir a few tablespoons of chia seeds or ground flaxseeds into your dry flour mix. These tiny seeds add healthy omega-3 fats, extra fiber, and a pleasant nuttiness without ruining the soft crumb.
Mix unflavored collagen powder or your favorite plant-based protein powder directly into your dry ingredients. Chopped walnuts, pecans, or sliced almonds add healthy fats and a satisfying crunch in every single bite. These simple add-ins transform a sweet treat into an energizing, power-packed breakfast.
Be careful not to overload your batter with too many heavy extras. Limit your total add-in weight so you do not crush the light structure of the muffin. A balanced mix keeps your pastries light, healthy, and deeply satisfying.
Best Cooling Methods to Prevent a SOGGY Bottom
Leaving hot muffins inside a metal baking tin traps unwanted steam. As the muffins cool, this trapped steam turns into water droplets along the edges and bottom. This moisture quickly soaks into the pastries and turns the soft base into a wet, soggy mess.
Let the baking tin rest on your counter for only five minutes after taking it out of the oven. Then, carefully lift each warm piece out of the tin and place it onto a wire cooling rack. The wire rack allows air to flow freely around all sides of the baked goods so steam can escape.
Make sure your treats cool completely before you cover or store them. Sealing warm muffins inside a plastic container or bag traps remaining heat and ruins the crisp top layer. Patience is key to keeping the texture tender on the inside and firm on the bottom.
Proper Storage Rules to Maintain Daily Freshness
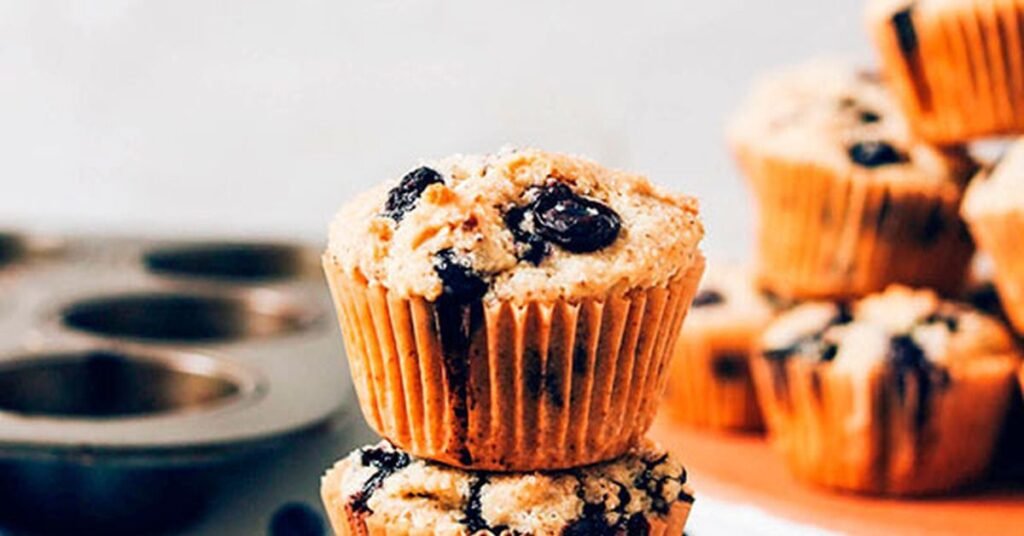
Gluten-free baked goods tend to dry out much faster than traditional wheat treats. To keep them fresh, always let your baked treats cool completely on a wire rack first. Storing them while they are still warm creates condensation, which makes the tops sticky and wet.
Place a single layer of dry paper towels at the bottom of an airtight container. Arrange your cooled pastries inside and place another paper towel directly on top of them. The paper towels absorb excess moisture, helping the streusel topping stay crisp while keeping the inside soft.
Store the sealed container at room temperature on your kitchen counter for up to three days. Avoid placing them in the refrigerator, because cold temperatures cause gluten-free starches to dry out very quickly.
Freezing and Reheating Instructions for Busy Mornings
Freezing your fresh muffins preserves their soft texture and rich flavor for up to three months. Once your baked goods cool completely, wrap each piece tightly in plastic wrap or aluminum foil.
Reheating frozen muffins is quick and effortless when you need a fast breakfast. You can thaw a muffin on your counter at room temperature for thirty minutes or warm it directly from the freezer using your microwave or toaster oven.
Quick Guide: Freezing & Reheating Methods
| Method | Preparation Steps | Time & Temperature | Best For | Expected Result |
| Room Temperature Thawing | Unwrap the frozen muffin and place it on a clean plate on the counter. | 30–45 minutes at room temperature | On-the-go mornings, lunchboxes, and simple snacks | Soft, tender texture with natural moisture retained. |
| Microwave Heating (Fastest) | Remove wrapper, wrap muffin loosely in a damp paper towel, and place on a microwave-safe plate. | 20–30 seconds on medium power (or 45 seconds from frozen) | Quick, instant breakfast when running low on time | Very soft, warm, and moist center. |
| Toaster Oven (Best Texture) | Remove wrapper and place the thawed or frozen muffin directly on the middle rack or baking tray. | 5–7 minutes at 350°F / 175°C (add 3–5 minutes if fully frozen) | Recreating bakery-fresh flavor on weekend mornings | Golden, crispy streusel topping with a warm, fluffy middle. |
| Standard Oven (Batch Warming) | Place multiple unwrapped frozen muffins on a parchment-lined baking sheet. | 10–12 minutes at 350°F / 175°C | Warming breakfast for the whole family at once | Even heat distribution with perfectly crisp tops. |
Frequently Asked Questions
Q1: Can I use frozen blueberries without thawing them first?
Yes, add frozen blueberries directly to the batter without thawing to prevent extra liquid from making the batter runny and turning it blue.
Q2: Why did my gluten-free muffins turn out dense and heavy?
Dense muffins usually happen from scooping flour directly with a measuring cup instead of spooning and leveling it, or from overmixing the batter.
Q3: Do I need to add xanthan gum to my flour mix?
Check your flour package first; if your 1-to-1 gluten-free flour blend already contains xanthan gum, you do not need to add any extra.
Q4: How do I keep the streusel topping crunchy after storing?
Line your storage container with paper towels to absorb excess moisture, and keep the container at room temperature instead of in the fridge.
Q5: How long do these gluten-free blueberry muffins stay fresh?
They stay fresh for up to 3 days in an airtight container at room temperature, or up to 3 months when stored properly in the freezer.
Would you like help putting all these sections together into one finalized article, or do you need assistance with anything else?
Conclusion
Baking soft and delicious treats without gluten is easy when you follow these simple steps. Using the right flour blend, keeping your berries from sinking, and topping them with a golden streusel makes every bite special.
Now it is time to gather your ingredients and start baking your own batch. With a little care and these helpful tips, you will enjoy fresh, bakery-quality muffins right in your own home. Enjoy every warm, sweet bite of your homemade gluten-free treats!
Gluten-Free Blueberry Muffins with Streusel Topping